Blogs
How to Build a Computer: Step-by-Step Guide with Recommended Parts

Building your computer is an empowering and rewarding experience. It allows you to tailor your machine to your needs, whether for gaming, video editing, programming, or general use. This comprehensive guide will walk you through building a computer, from selecting the best parts to the final assembly. By the end of this article, you’ll know how to make your custom PC confidently.
Why Build Your Computer?
Cost-Effectiveness
One of the main advantages of building your computer is cost-effectiveness. By selecting individual components, you can often save money compared to buying a pre-built system with equivalent specifications. Additionally, you have the flexibility to upgrade parts over time, which can be more economical than replacing an entire system.
Tailored Performance
Building your PC allows you to tailor its performance to your needs. For example, a gaming rig requires a powerful GPU, while a video editing workstation benefits from a high-core-count CPU and ample RAM. Custom builds offer the flexibility to optimize for your particular use case.
Learning Experience
Building a computer is an excellent learning experience. It enhances your understanding of computers and helps you develop troubleshooting skills. This knowledge can be valuable for future upgrades or repairs, saving you time and money.
Planning Your Build
Identifying Your Needs
Before purchasing components, it’s crucial to identify your needs. Consider what you will primarily use the computer for gaming, professional work (such as video editing or programming), or general use. This will help determine the type of components you need and your budget.
Researching Components
Research is essential to ensure compatibility and performance. For in-depth technical evaluations, utilize reliable resources, such as reviews and benchmarks from reputable tech websites and academic resources like Google Scholar. Make sure to verify that all selected parts are compatible with each other.
Essential Parts for Building a Computer
CPU (Central Processing Unit)
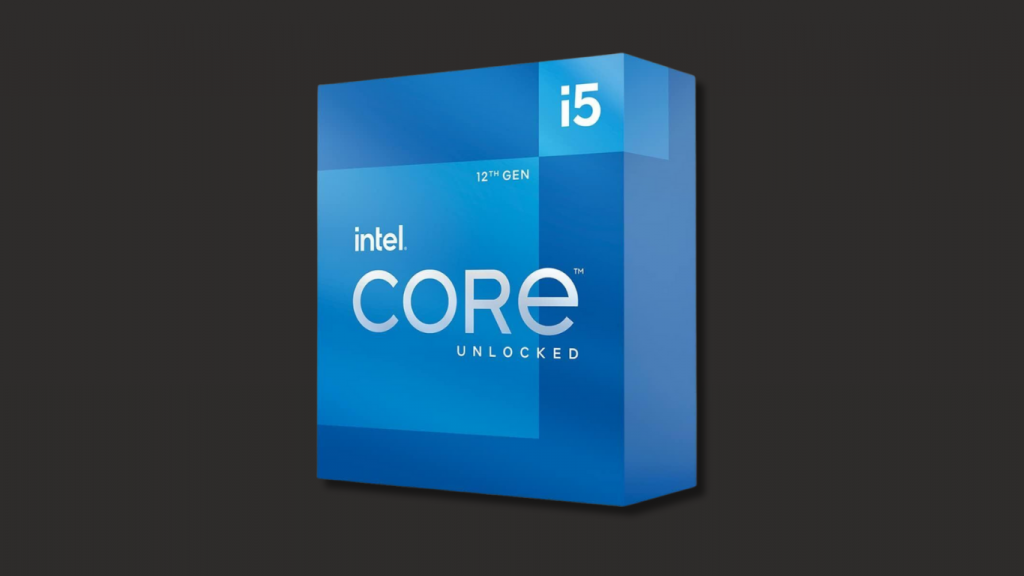
The CPU is your computer’s brain. It handles all the instructions from your software applications. When choosing a CPU, consider factors such as core count, clock speed, and thermal design power (TDP). Recommended CPUs include the Intel Core i5/i7 for general use and gaming and AMD Ryzen 5/7 for multitasking and professional work.
Recommended CPUs:
- For Gaming: Intel Core i5-12600K, AMD Ryzen 5 5600X
- For Professional Work: Intel Core i7-12700K, AMD Ryzen 7 5800X
Motherboard
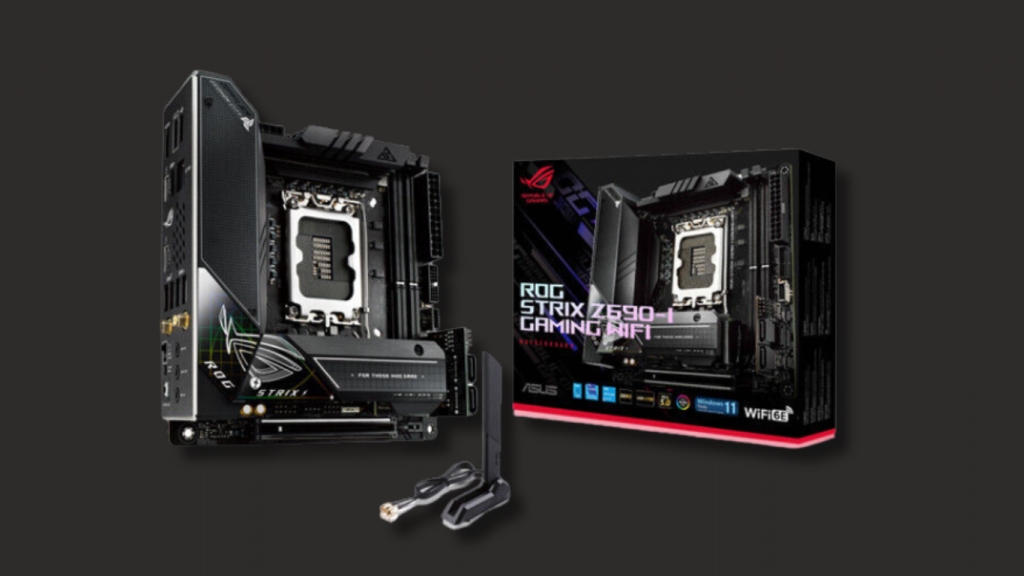
The motherboard is the main circuit board that connects all components. It must be compatible with your chosen CPU in terms of socket type and chipset. Also, consider the form factor (ATX, Micro-ATX, Mini-ITX) based on your case size.
Recommended Motherboards:
- For Intel CPUs: ASUS ROG Strix Z690-E, MSI MPG Z690 Carbon WiFi
- For AMD CPUs: ASUS TUF Gaming X570-Pro, MSI MAG B550 TOMAHAWK
RAM (Random Access Memory) Here
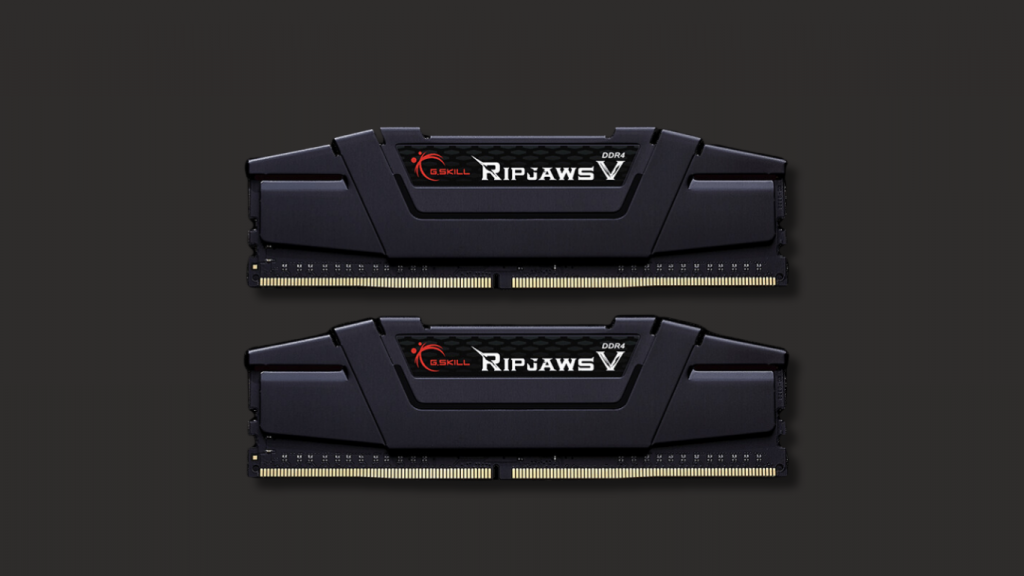
RAM is crucial for multitasking and overall system performance. The amount of RAM you need depends on your usage. 8GB is sufficient for general use, but 16GB or more is recommended for gaming and professional work. Additionally, higher-frequency RAM can provide a performance boost.
Recommended RAM:
- For General Use: Corsair Vengeance LPX 8GB (2 x 4GB) DDR4-3200
- For Gaming/Professional Work: G.Skill Ripjaws V 16GB (2 x 8GB) DDR4-3600
Storage
Your choice of storage affects your system’s speed and capacity. SSDs (Solid-State Drives) are significantly faster than traditional HDDs (Hard Disk Drives). NVMe SSDs offer the best performance, especially for the operating system and frequently used applications.
Recommended Storage:
- For General Use: Samsung 970 EVO Plus 500GB NVMe SSD
- For Gaming/Professional Work: WD Black SN850 1TB NVMe SSD
GPU (Graphics Processing Unit)
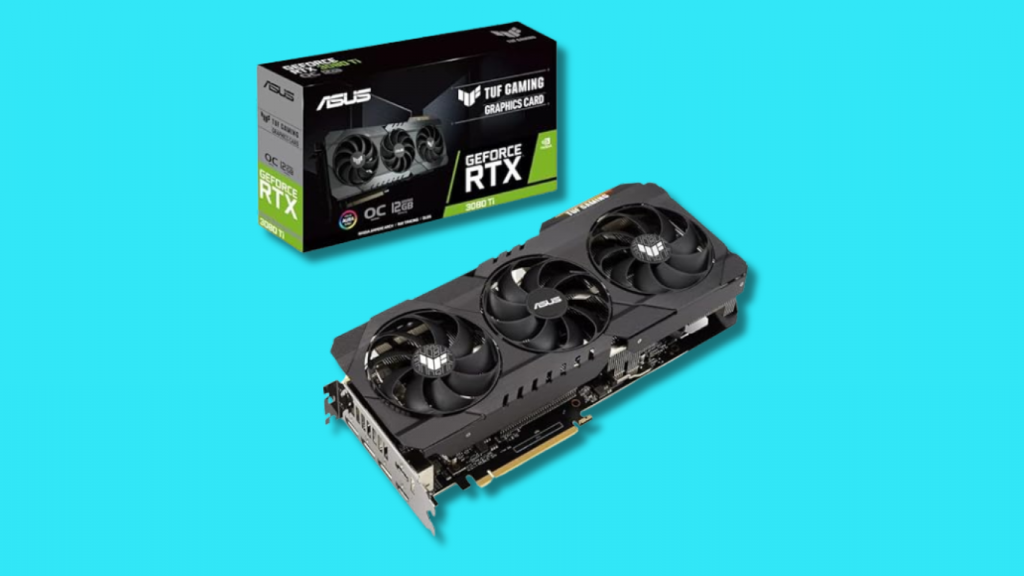
The GPU is essential for gaming and tasks like video editing and 3D rendering. The proper GPU will depend on your specific needs and budget. Higher-end GPUs provide better performance but are more expensive.
Recommended GPUs:
- For Gaming: NVIDIA GeForce RTX 3060 Ti, AMD Radeon RX 6700 XT
- For Professional Work: NVIDIA GeForce RTX 3080, AMD Radeon RX 6800 XT
Power Supply Unit (PSU)
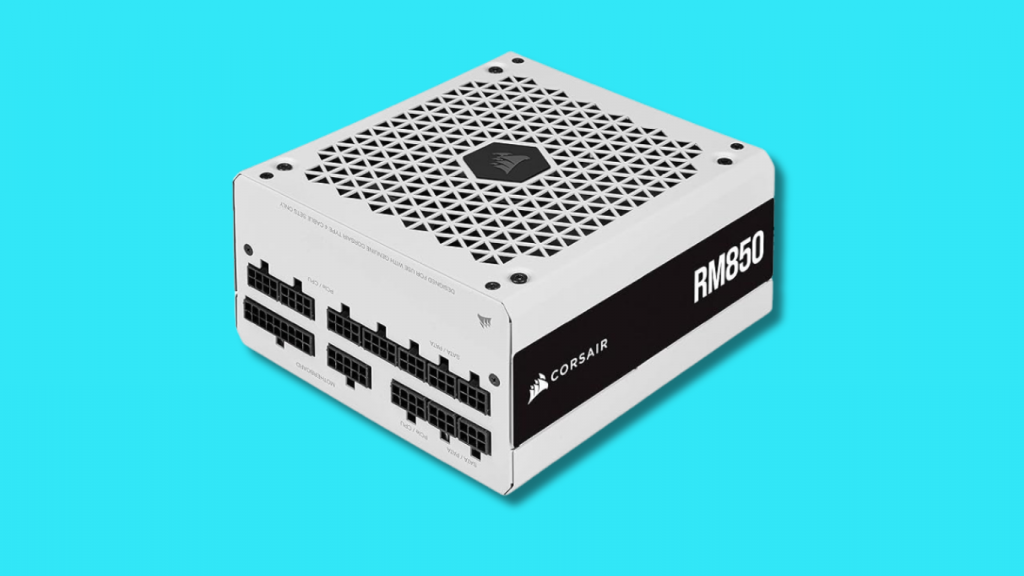
The PSU supplies power to all components. Ensure that the wattage is sufficient for your system, and look for 80 PLUS certification for better efficiency. Modular PSUs can help with cable management.
Recommended PSUs:
- For General Use/Gaming: Corsair RM750x 750W 80 PLUS Gold
- For High-End Builds: EVGA SuperNOVA 850 G5 850W 80 PLUS Gold
Case
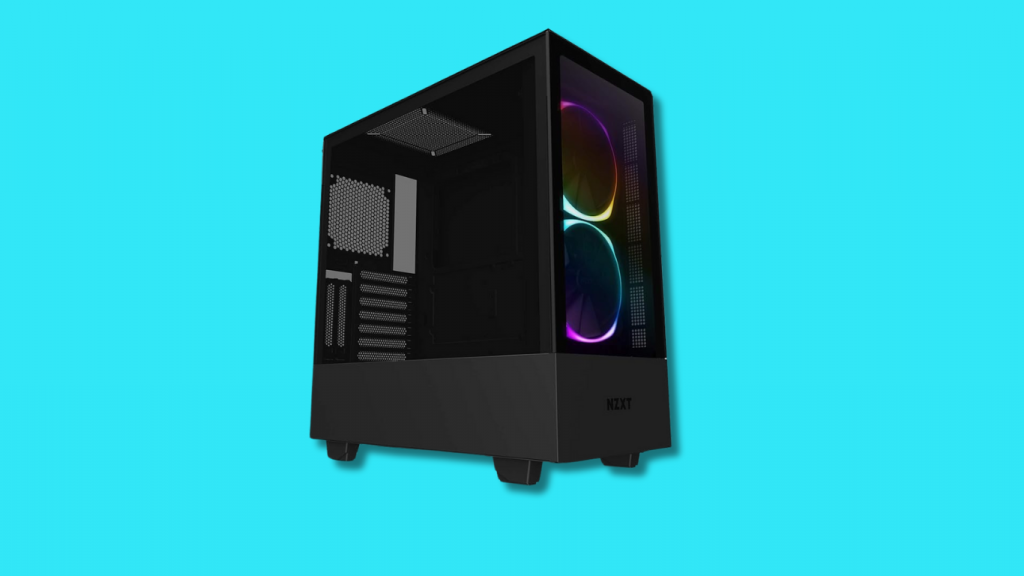
The case houses all your components. It should provide good airflow and have enough space for your components. Consider the size (ATX, Micro-ATX, Mini-ITX) and additional features like cable management and aesthetic preferences.
Recommended Cases:
- For General Use: NZXT H510
- For Gaming/Professional Work: Fractal Design Meshify C
Cooling System
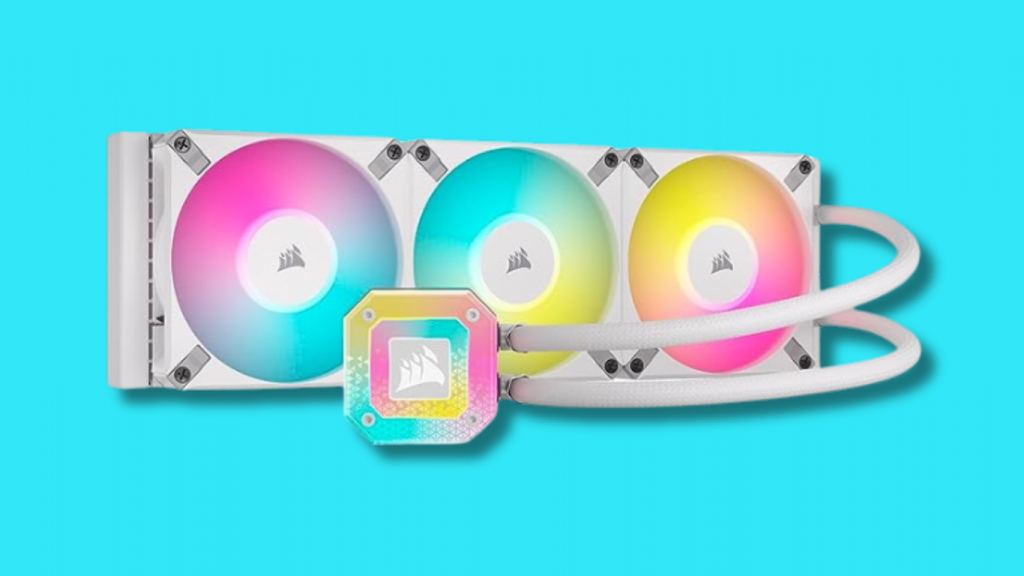
Proper cooling is essential to maintain performance and prolong the lifespan of your components. Depending on your build, you can choose between air and liquid cooling.
Recommended Cooling Solutions:
- Air Cooling: Noctua NH-D15
- Liquid Cooling: Corsair iCUE H100i Elite Capellix
Additional Components
Consider additional components such as optical drives, network cards, and USB hubs, depending on your needs. Most modern motherboards have built-in networking capabilities, but specialized network cards can enhance performance for specific needs.
Step-by-Step Guide to Building Your Computer
Preparation
Before you start building, gather all the necessary tools and components. You’ll need a screwdriver (preferably magnetic), an anti-static wrist strap to prevent electrostatic discharge (ESD), and a spacious work area.
Assembly Process
Installing the CPU:
- Open the CPU socket on the motherboard.
- Align the CPU with the socket (matching the notches) and gently place it.
- Secure the CPU with the socket lever.
Installing the RAM:
Mounting the Motherboard:
- Place the motherboard standoffs in the case.
- Align the motherboard with the standoffs and screw it in place.
Installing Storage Devices:
- For SSDs, locate the M.2 slot on the motherboard, insert the SSD, and secure it with a screw.
- For HDDs, mount them in the drive bays and connect them to the motherboard with SATA cables.
Connecting the Power Supply:
- Install the PSU in its designated spot in the case.
- Connect the main power cable to the motherboard (24-pin) and the CPU power cable (8-pin).
- Connect power cables to the GPU and other components as needed.
Mounting the GPU:
Cable Management:
- Organize and route cables to ensure good airflow and a tidy build.
- Use cable ties to secure loose cables.
Initial Boot and BIOS Setup
Checking Connections:
- Double-check all connections to ensure everything is properly seated and connected.
BIOS Configuration:
- Power on the computer and enter the BIOS/UEFI (usually by pressing Del or F2 during boot).
- Verify that all components are recognized and adjust settings as needed (e.g., enabling XMP for RAM).
Installing the Operating System:
- Insert your OS installation media (USB or DVD) and follow the on-screen instructions to install the operating system.
Troubleshooting Common Issues
No Power/No POST
If your computer doesn’t power on or fails to POST (Power-On Self-Test), check the following:
- Ensure the PSU switch is on and plugged into a working outlet.
- Verify that all power cables are securely connected.
- Check for any loose or improperly seated components.
Overheating
If your system is overheating, consider the following:
- Ensure all fans are working and correctly oriented.
- Reapply thermal paste on the CPU cooler if necessary.
- Improve case airflow by adding fans or using a better cooling solution.
Performance Issues
If you’re experiencing performance issues, try the following:
- Identify bottlenecks by monitoring system performance (using tools like Task Manager or HWMonitor).
- Ensure drivers are up-to-date.
- Optimize settings in BIOS/UEFI.
Conclusion
Building your computer is a gratifying endeavor. It provides cost savings, performance tailored to your needs, and a valuable learning experience. By following this step-by-step guide and selecting the recommended parts, you’ll be well on your way to creating a powerful custom PC. Remember, thorough research and careful assembly are critical to a successful build. Happy building!
References
For more detailed information and in-depth reviews on the components mentioned, consider consulting reliable sources such as:
- Google Scholar for academic articles and technical papers.
- Tom’s Hardware

